> For the complete documentation index, see [llms.txt](https://docs.novacura.com/extensibility-and-integration/llms.txt). Markdown versions of documentation pages are available by appending `.md` to page URLs; this page is available as [Markdown](https://docs.novacura.com/extensibility-and-integration/products/cognitive-services/anomaly-detector-1/how-to-guides-1.md).
# How to Guides
**Azure OpenAI Service** is an AI-powered generative service that enables organizations to deploy and use OpenAI models within Azure to understand, generate, and reason over text and other content. Read more about the service at [How-to: Create and deploy an Azure OpenAI in Azure AI Foundry Models resource - Azure OpenAI | Microsoft Learn](https://learn.microsoft.com/en-us/azure/ai-foundry/openai/how-to/create-resource?pivots=web-portal)
### Create a resource
The following steps show how to create an Azure OpenAI resource in the Azure portal.
#### Identify the resource
1. Sign in with your Azure subscription in the Azure portal .
2. Select **Create a resource** and search for the **Azure OpenAI**. When you locate the service, select **Create**.
3. On the **Create Azure OpenAI** page, provide the following information for the fields on the **Basics** tab:
| Field | Description |
| ------------------ | ------------------------------------------------------------------------------------------------------------------------------------------------------------------------------------------------------------------------------------------------------ |
| **Subscription** | The Azure subscription used in your Azure OpenAI onboarding application. |
| **Resource group** | The Azure resource group to contain your Azure OpenAI resource. You can create a new group or use a pre-existing group. |
| **Region** | The location of your instance. Different locations can introduce latency, but they don't affect the runtime availability of your resource. |
| **Name** | A descriptive name for your Azure OpenAI resource, such as *MyOpenAIResource*. |
| **Pricing Tier** | The pricing tier for the resource. Currently, only the Standard tier is available for the Azure OpenAI. For more info on pricing visit the [Azure OpenAI pricing page](https://azure.microsoft.com/pricing/details/cognitive-services/openai-service/) |
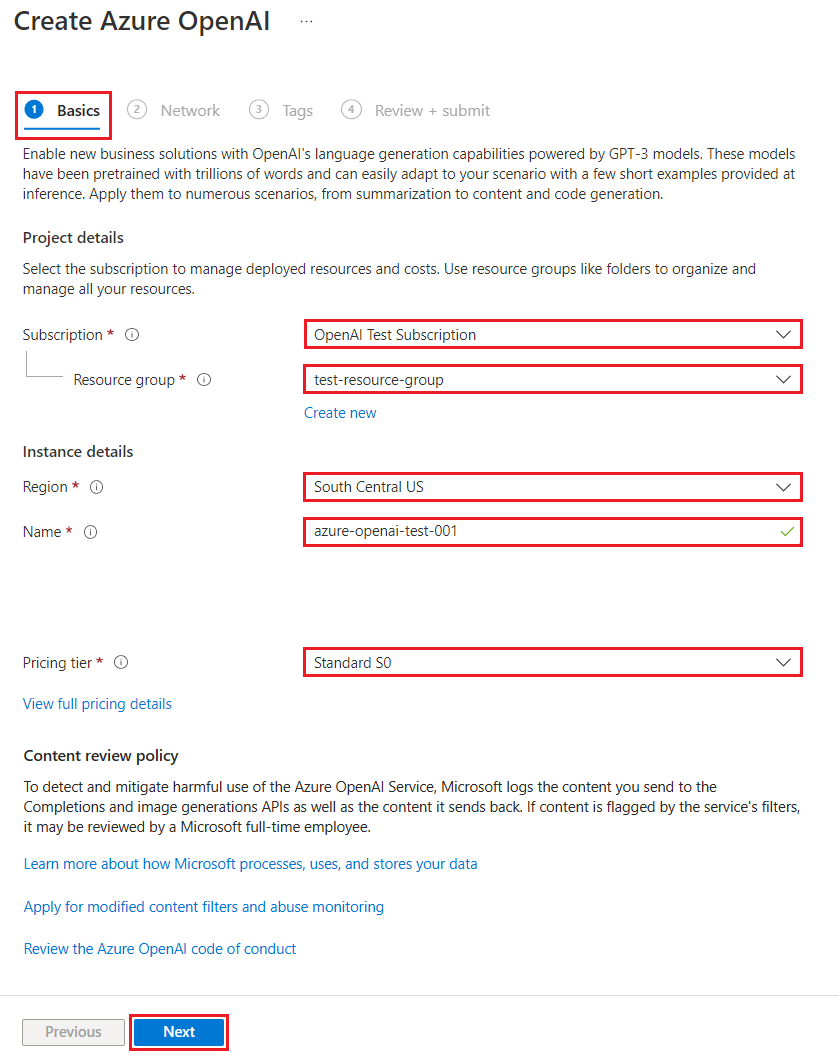
4. Select **Next**.
#### Configure network security
The **Network** tab presents three options for the security **Type**:
* Option 1: **All networks, including the internet, can access this resource.**
* Option 2: **Selected networks, configure network security for your Foundry Tools resource.**
* Option 3: **Disabled, no networks can access this resource. You could configure private endpoint connections that will be the exclusive way to access this resource.**
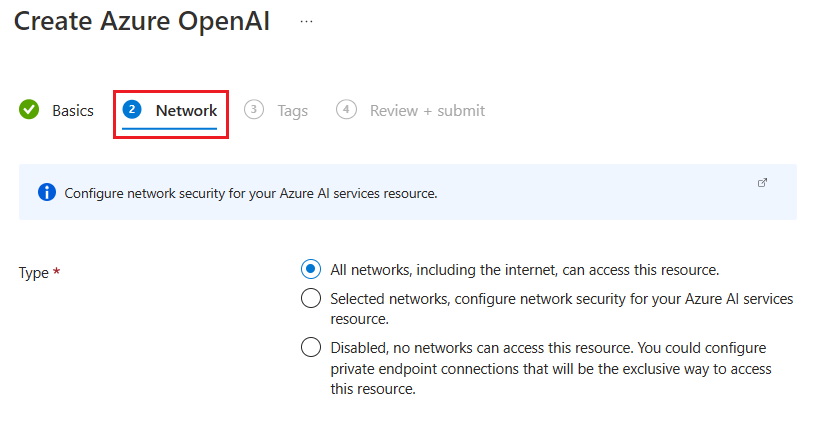
Depending on the option you select, you might need to provide additional information.
#### Confirm the configuration and create the resource
1. Select **Next** and configure any **Tags** for your resource, as desired.
2. Select **Next** to move to the final stage in the process: **Review + submit**.
3. Confirm your configuration settings and select **Create**.
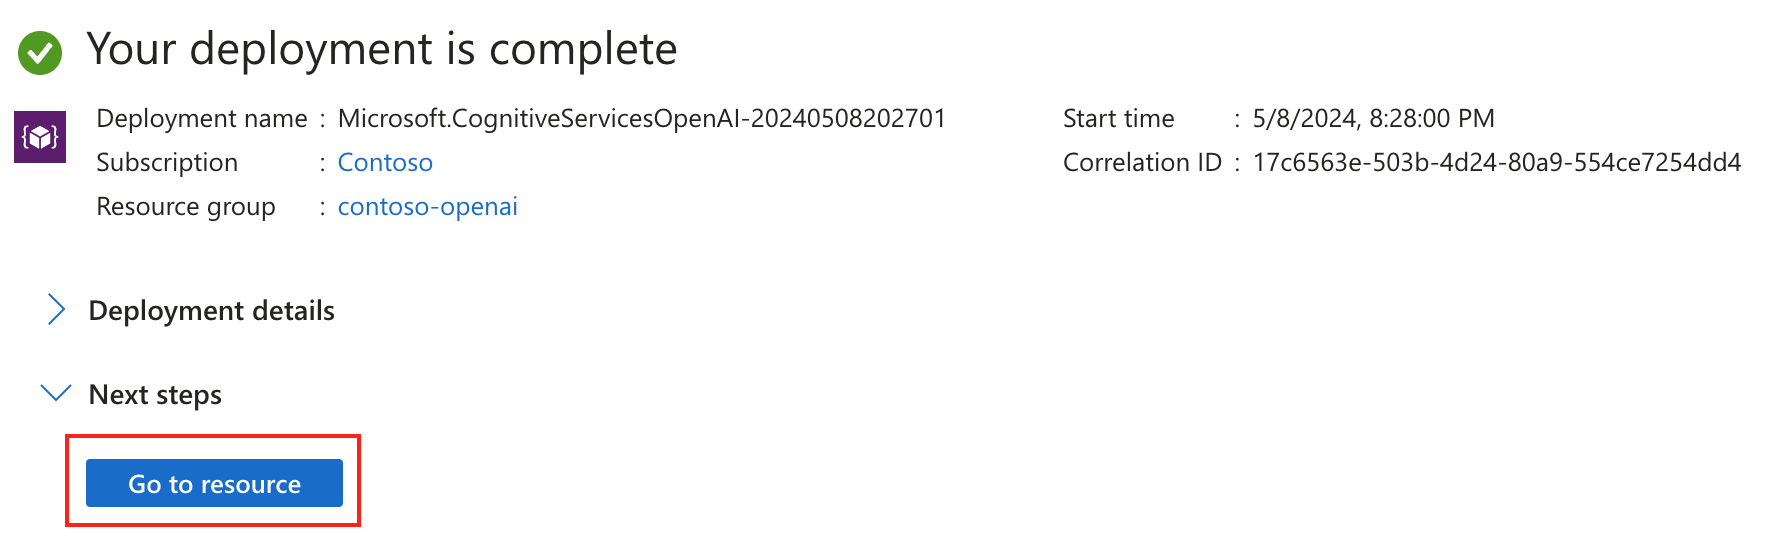
4. The Azure portal displays a notification when the new resource is available. Select **Go to resource**.
### Deploy a model
Next, an AI model will need to be deployed:
1. Go to Azure OpenAI Studio.
2. Select your Active Directory and Subscription.
3. Choose the resource you created.
4. Click “Deployments” → “Create new deployment”.
5. Select a model (e.g., gpt-35-turbo, gpt-4, or o4-mini).
6. Configure the following fields:
| Field | Description |
| ------------------- | ------------------------------------------------------------------------------------------------------------------------------------------------------------------------------------------------------------------------------------------- |
| **Deployment name** | Choose a name carefully. The deployment name is used in your code to call the model by using the client libraries and the REST APIs. |
| **Deployment type** | **Standard**, **Global-Batch**, **Global-Standard**, **Provisioned-Managed**. Learn more about [deployment type options](https://learn.microsoft.com/en-us/azure/ai-foundry/foundry-models/concepts/deployment-types?view=foundry-classic). |
7. Once configured click “Create” to deploy.
---
# Agent Instructions
This documentation is published with GitBook. GitBook is the documentation platform designed so that both humans and AI agents can read, navigate, and reason over technical content effectively. Learn more at gitbook.com.
## Querying This Documentation
If you need additional information that is not directly available in this page, you can query the documentation dynamically by asking a question.
Perform an HTTP GET request on the current page URL with the `ask` query parameter, and the optional `goal` query parameter:
```
GET https://docs.novacura.com/extensibility-and-integration/products/cognitive-services/anomaly-detector-1/how-to-guides-1.md?ask=&goal=
```
`ask` is the immediate question: it should be specific, self-contained, and written in natural language.
`goal` is optional and describes the broader end goal you are ultimately trying to accomplish on behalf of the user. GitBook uses it to tailor the answer towards what is most useful for that goal.
The response will contain a direct answer to the question and relevant excerpts and sources from the documentation.
Use this mechanism when the answer is not explicitly present in the current page, you need clarification or additional context, or you want to retrieve related documentation sections.